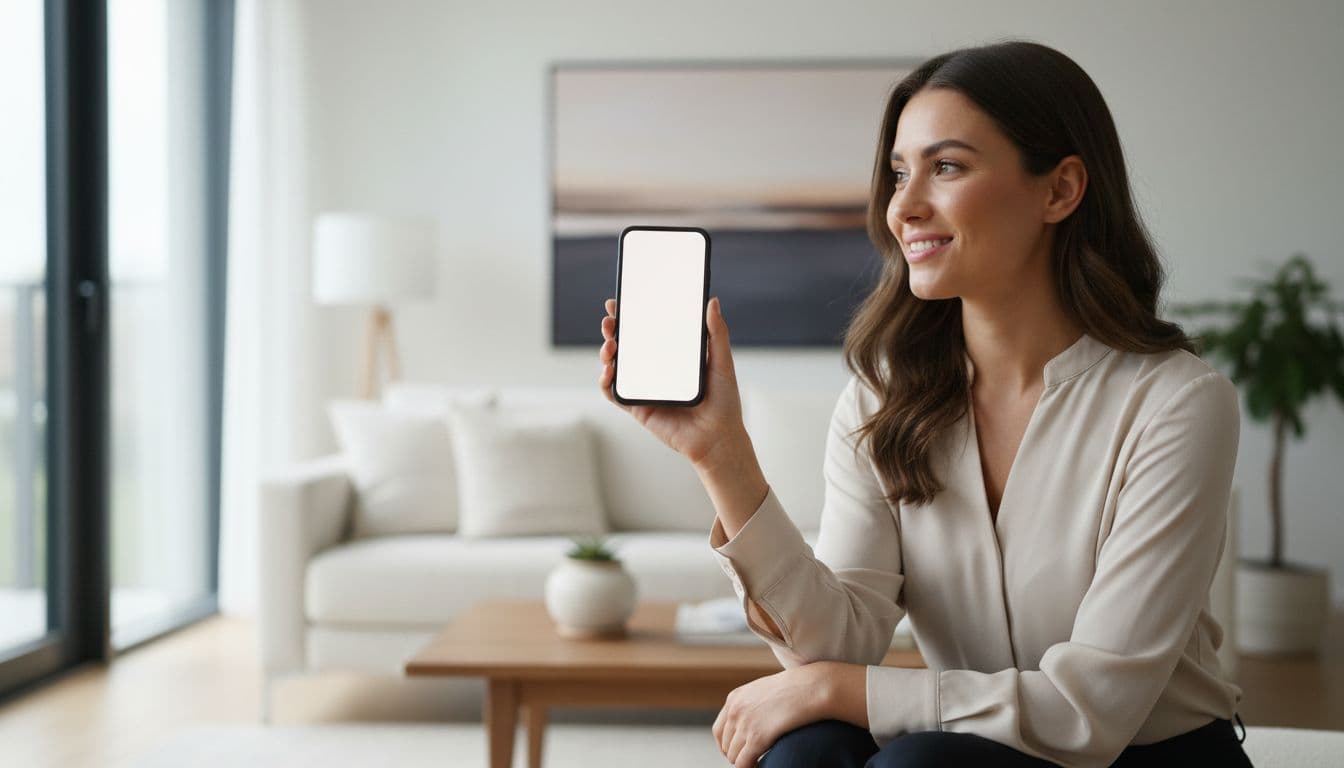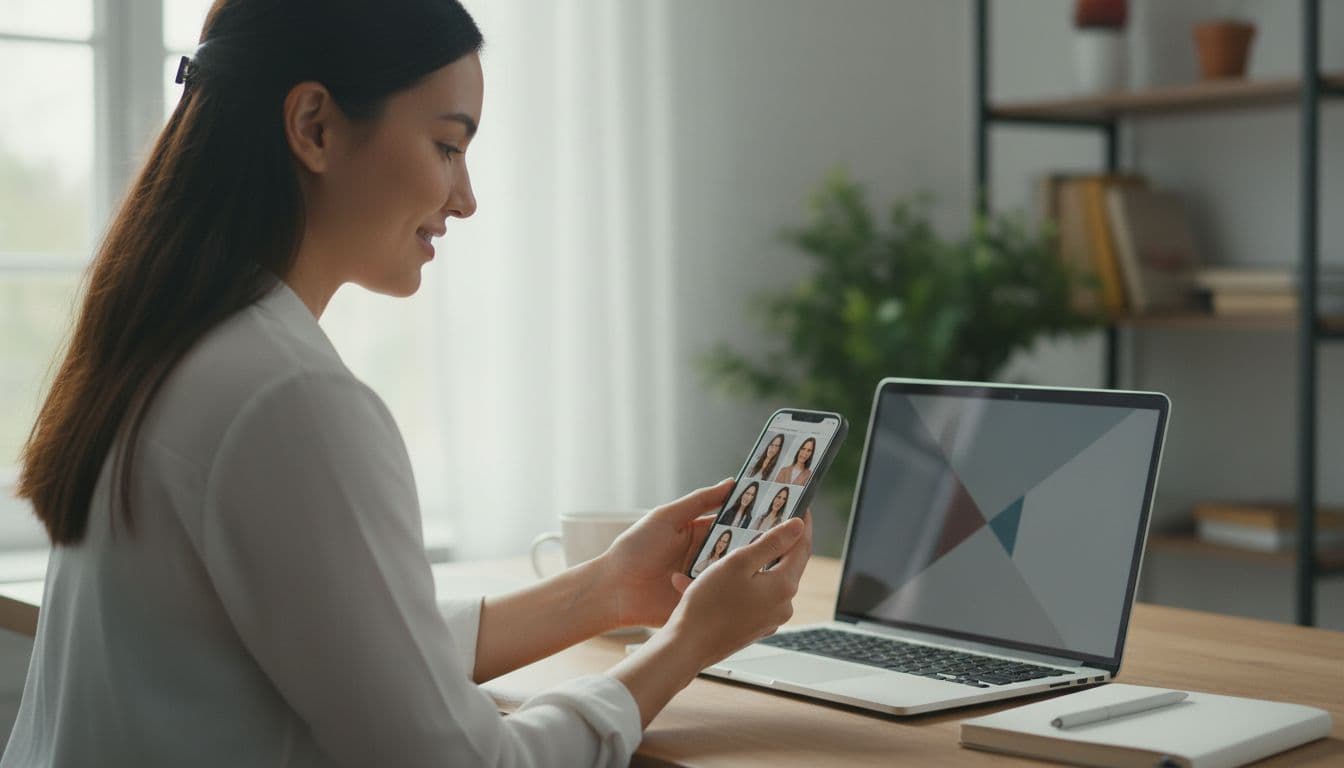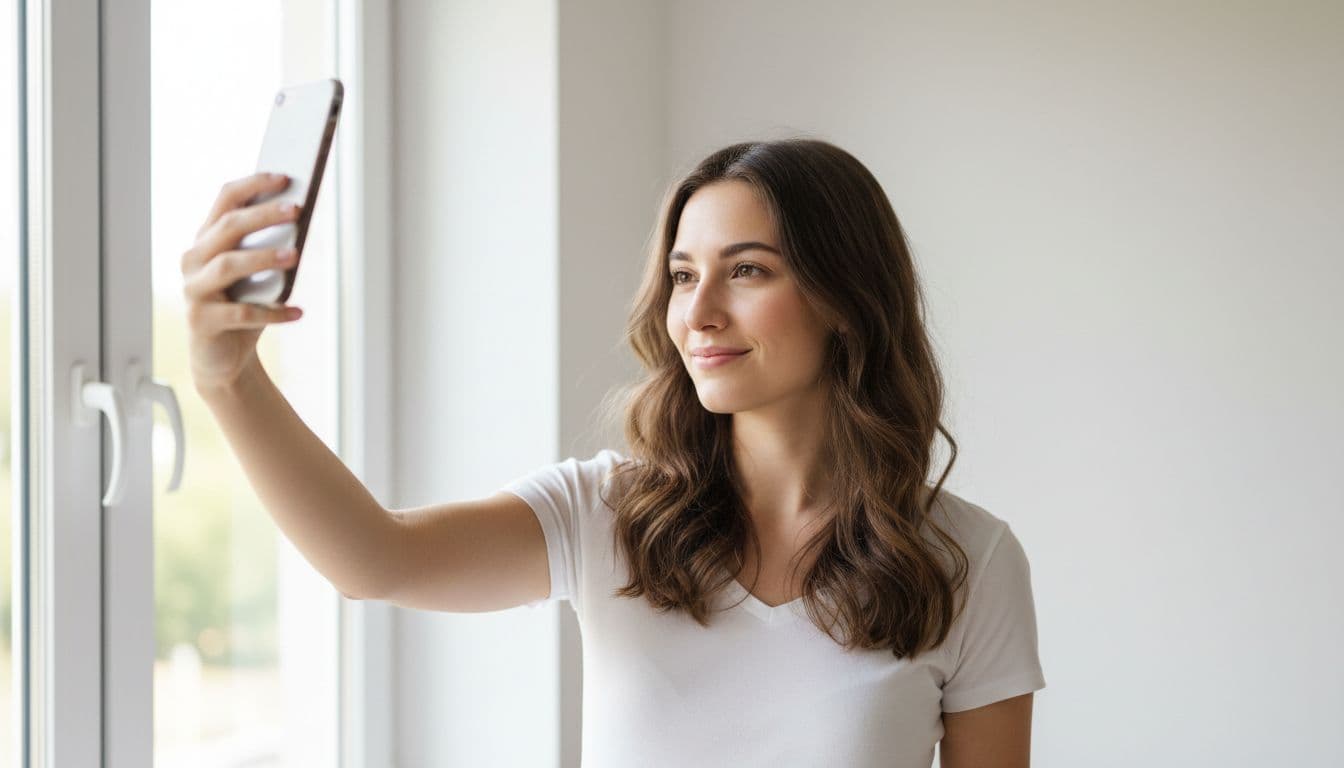
You are about to generate an AI headshot, and you know the output only ever looks as good as the photo you feed it. So here is exactly how to take a selfie for AI headshots that hold up: face soft, even light, hold the phone at eye level and roughly an arm’s length away, keep your whole face visible, and relax into a natural expression instead of a forced smile.
SelfAI is an AI photo studio and AI photo editor that turns your selfies into professional headshots, portraits and creative photos in minutes, on iOS and in your web browser. It does the styling. Your job is just to hand it one honest, well-lit photo, and this guide walks through exactly how.
- Soft, even light on your face matters more than any camera setting or app.
- Hold the phone at eye level, roughly arm’s length away, facing the camera straight on.
- Keep your full face visible: no sunglasses, no hat brim, no hair across your eyes.
- A relaxed, natural expression works better than a big forced grin for most AI headshot styles.
- One good selfie is usually enough, but a second one from a different session helps if the first looks off.
Why the selfie you start with matters more than the style you pick
It is tempting to think the AI does all the work, and in a sense it does: it changes the lighting, the backdrop and the wardrobe entirely. What it cannot invent is your face. Every AI headshot generator, SelfAI included, reads your bone structure, skin tone, hair and expression from the source photo and keeps those the same while it restyles everything around them.
That means a blurry, poorly lit or partly hidden selfie limits every style you generate from it, no matter how good the app is. A clear, evenly lit selfie does the opposite: it gives the model an accurate starting point, so the corporate headshot, the natural-light portrait and the black-and-white editorial look all end up looking like you on a good day, not like a stranger wearing your face.
How to take a selfie for AI headshots, step by step
This is the full process. It takes about a minute and does not require any equipment beyond the phone you already have.
- Find a window. Stand or sit facing a source of soft daylight, close enough that it lights your whole face evenly.
- Clean the lens. A quick wipe on your shirt removes the smudge that turns a sharp selfie into a soft, foggy one.
- Hold the phone at eye level. Straighten your arm out in front of you, or prop the phone up, so the camera is level with your eyes, not above or below.
- Face the camera directly. Square your shoulders and chin toward the lens, rather than turning at an angle.
- Take several shots. Fire off five or six frames in a row so you can pick the one where your eyes are open and your expression looks natural.
- Check the result before you upload. Zoom in on your own photo. If your face is sharp, evenly lit and fully visible, you are ready to generate.
Find light your face actually likes
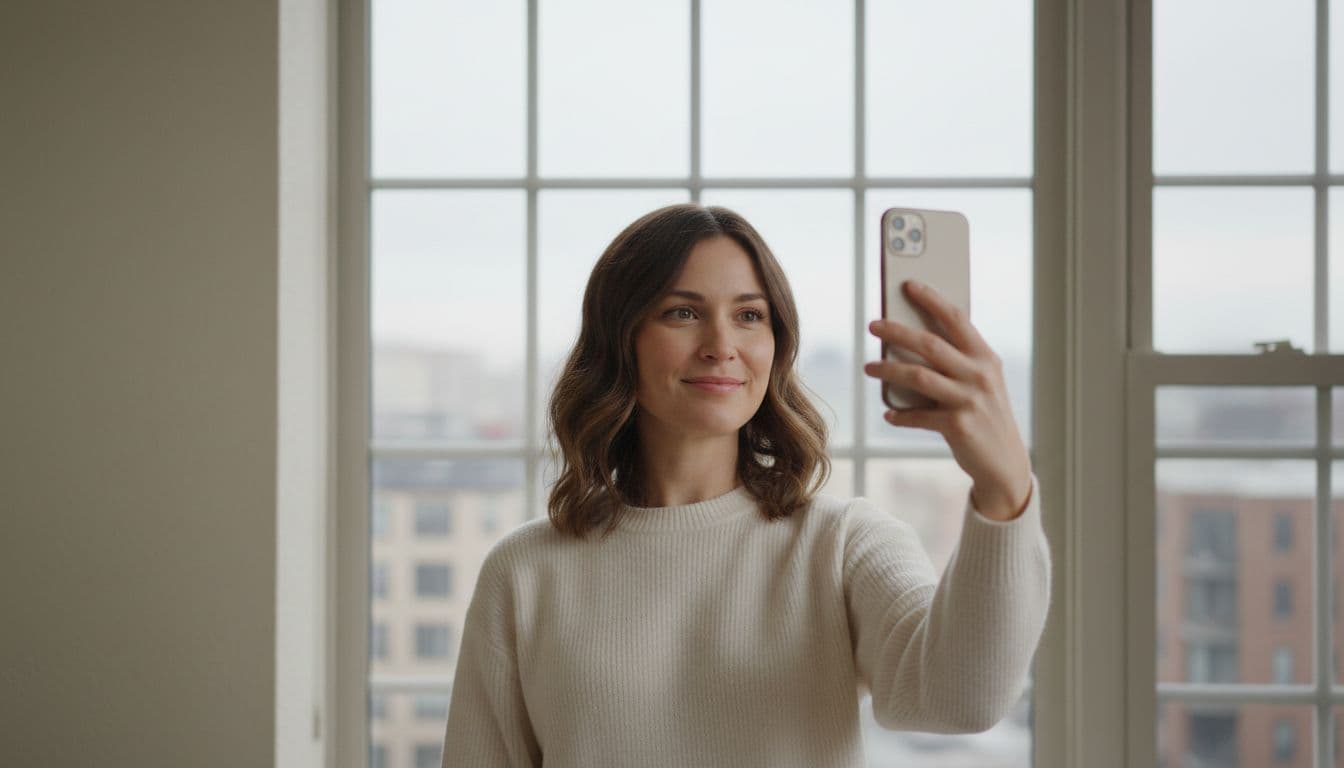
Lighting decides more of the outcome than anything else on this list. The goal is soft, even light with no harsh shadows across your face. A large window on an overcast day or in open shade is close to ideal: the light is diffused rather than direct, so it wraps around your features instead of carving them into bright patches and dark pockets.
Hard light does the opposite. Direct midday sun, a single overhead bulb, or a bathroom spotlight all create small, sharp shadows that emphasize texture and unevenness rather than smoothing it out. Portrait photographers have written about this for decades: soft, diffused light is consistently more flattering than hard direct light, because hard light exaggerates skin texture and blemishes rather than hiding them, and light coming from slightly above and in front of the face gives it natural dimension without the harsh shadows that come from overhead or side lighting, as explained in this introduction to portrait lighting.
When we tested this guide ourselves, we shot three selfies in the same room within ten minutes of each other: one facing a north-facing window, one under a kitchen ceiling light, and one in direct sun through a doorway. The window selfie produced clean, natural-looking AI headshots on the first try. The overhead light version needed a second generation because the shadows under the eyebrows and nose carried through into the result, and the direct sun version was slightly overexposed on one cheek.
Camera angle and distance: where to hold the phone
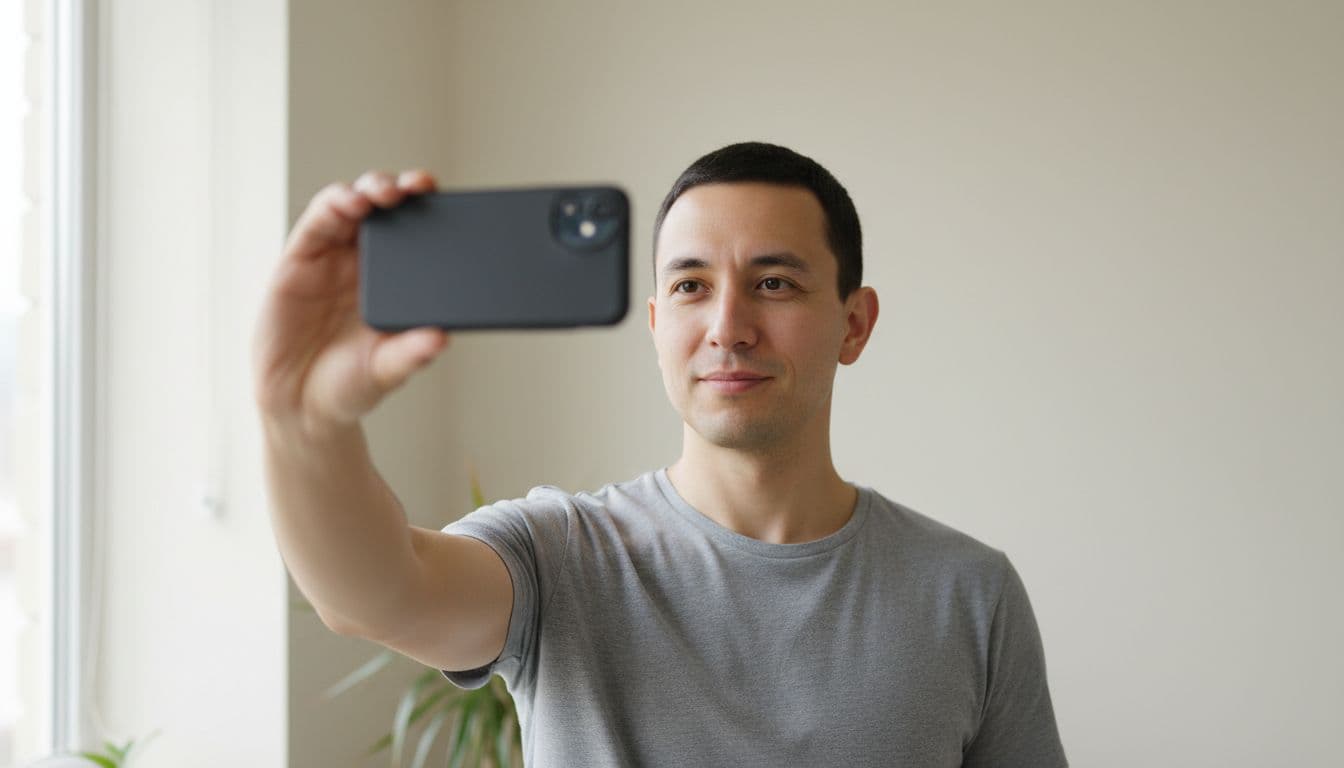
Hold the phone at eye level, not above your head and not down by your chest. A slightly high angle can be flattering in casual photos, but for a photo that is about to become a professional headshot, a straight, eye-level angle reads as more natural and is easier for the AI to work from consistently.
Distance matters too. Extend your arm fully, or better, prop the phone against something steady and use the timer, so you are roughly arm’s length or a little further from the lens. Too close and the camera’s wide-angle lens distorts your nose and forehead; too far and your face becomes a small, low-detail part of the frame. Modern iPhone cameras will even prompt you on-screen when you are too close, too far, or in an area that is too dark, which is a useful sanity check if you are not sure the framing is right, as Apple explains in its guide to Portrait mode on iPhone.
Get your expression right
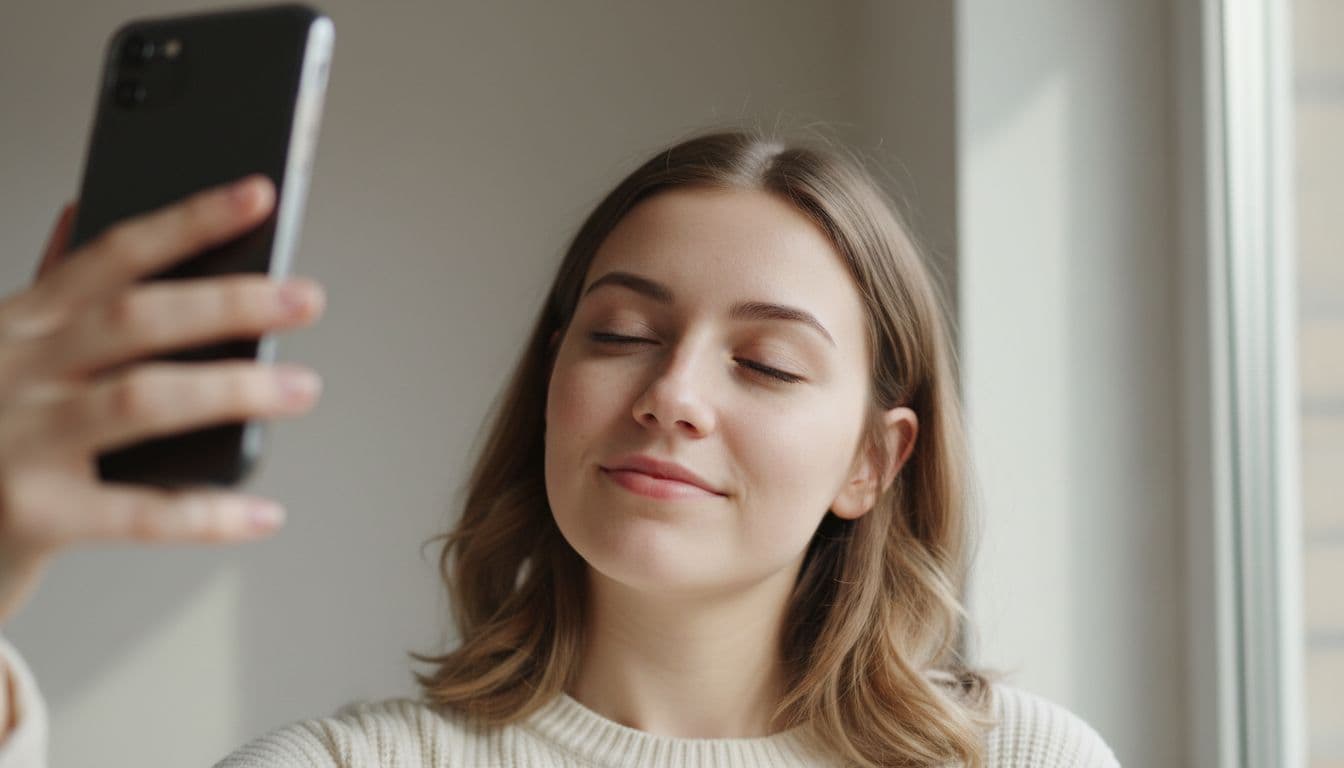
You do not need a photographer’s coaching to get a usable expression. Relax your jaw, drop your shoulders, and let your mouth sit naturally rather than forcing a wide smile. A soft, closed-mouth expression or a gentle half-smile translates well into almost every AI headshot style, from corporate to natural light.
Save the big grin for casual or travel-style photos if you want one specifically. For a professional look, a calm, confident expression with your eyes open and focused on the lens reads better once it is restyled into a studio setting. Blink between shots and take a few in a row: it is much easier to pick the best frame from six photos than to nail the one attempt.
Common selfie mistakes that confuse an AI headshot generator
Most disappointing AI headshots trace back to one of a handful of avoidable problems in the source selfie. Here is what to watch for.
- Sunglasses or hats. The AI needs your eyes and hairline to keep the result recognisable. Anything covering them forces the model to guess.
- Hair across the face. A strand across an eye or cheek can get baked into the generated result in odd ways. Tuck it back before you shoot.
- Extreme angles. Shooting from far below or far above distorts proportions in ways that carry through into every style.
- Heavy filters on the original. A beautify filter or a strong color filter on the source photo confuses the model about your actual skin tone and features. Give it an honest photo; SelfAI adds the polish.
- Group photos or cropped screenshots. Start from a clear, single-person photo where your face fills a reasonable portion of the frame, not a cropped corner of a group shot.
- A busy or distracting background. It will not appear in most finished styles, but a cluttered background can make it harder for the model to isolate your face cleanly. A plain wall or open space works best, similar to how ID and passport photo rules ask for a plain background and uniform lighting with no shadows, as described in the U.S. passport photo requirements.
Should you upload more than one selfie?
One clear, well-lit selfie is enough to generate a full set of AI headshots. Uploading two selfies, ideally from slightly different angles or moments, can help in specific cases: if your first photo has a slightly awkward expression, if you want to give the model a bit more information about your hair or face shape, or if you are unsure which of two shots turned out better.
There is no need to overthink this. Take five or six frames in one short session near your window, pick the one or two where you look most like yourself, and use those. More photos do not automatically mean a better result; a single sharp, evenly lit selfie will usually outperform several mediocre ones.
What you can skip entirely
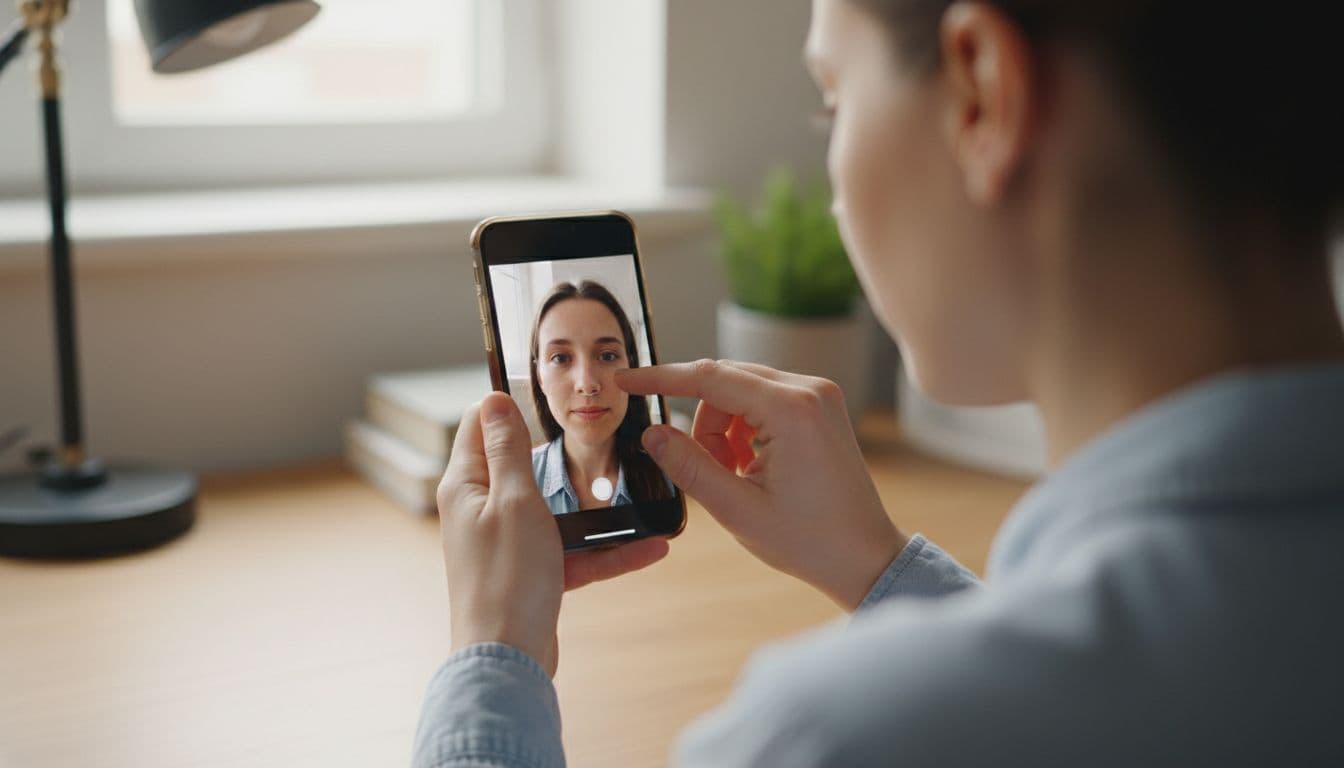
You do not need a ring light, a tripod, a plain studio backdrop or a professional camera. A phone selfie near a window covers almost everything an AI headshot generator needs. You also do not need makeup or styling for the source photo; the point of the source selfie is accuracy, not polish, since the styling happens afterward.
If you have already tried an editor and found the sign-up process more annoying than the photo itself, our guide to free AI photo editors with no sign-up covers what to look for and how to skip the registration wall entirely. And if the headshot is specifically for LinkedIn, our LinkedIn headshot from a selfie guide walks through the platform’s own photo guidelines and which SelfAI styles map to them.
Frequently asked questions
- What is the best light for a selfie you will turn into an AI headshot?
- Soft, even daylight from a window, ideally on an overcast day or in open shade. It lights your whole face without the harsh shadows that direct sun or a single overhead bulb create.
- Should I hold the phone above or below eye level?
- Neither. Hold the phone at eye level and face the camera straight on. This gives the most natural proportions and is what an AI headshot generator can work with most consistently.
- Do I need to smile in the selfie I upload?
- No. A relaxed, closed-mouth or soft half-smile expression works well for most AI headshot styles. Save a big grin for casual or travel-style photos if you want one.
- Can I wear glasses in the selfie I upload to SelfAI?
- You can, but removing them usually helps, since reflections and frames can obscure your eyes. If you always wear glasses and want them in your results, a glare-free shot works better than one with visible reflections.
- Is one selfie enough, or should I upload more?
- One clear, well-lit selfie is enough to generate a full set of AI headshots with SelfAI. A second photo from a different angle can help if your first attempt has an awkward expression.
- Does the background in my selfie matter for an AI headshot?
- Not much, since AI headshot generators replace the background entirely. A plain, uncluttered space still makes it easier for the model to isolate your face cleanly.
- How do I know if my selfie is good enough for SelfAI?
- Zoom in on the photo before uploading. If your face is sharp, evenly lit, fully visible and not distorted by an extreme angle, it is ready to generate a headshot.
Ready to turn your selfie into a headshot?
Good light, a straight-on angle, arm’s length distance and a relaxed expression: that is the whole checklist. Nothing here requires equipment you do not already have in your pocket. Once you have a selfie you are happy with, open the SelfAI web app or the iOS app, browse the photo styles gallery and pick a look, and see the full walkthrough if you want more detail on what happens next.
Two minutes after you upload, you will have a set of AI headshots that still look like you, just on a very good day. The photo you start with is the only part of this that is entirely up to you, so it is worth the extra thirty seconds to get it right.

Written by
Taro Nakamura
Editor, AI Photography & Mobile Apps
Taro writes about AI photo editing, headshots and the apps that make them easy. He tests every editor he recommends on a real phone, with real selfies, and only keeps the tools that deliver results in minutes without a manual.
More articles by Taro
 Taro Nakamura