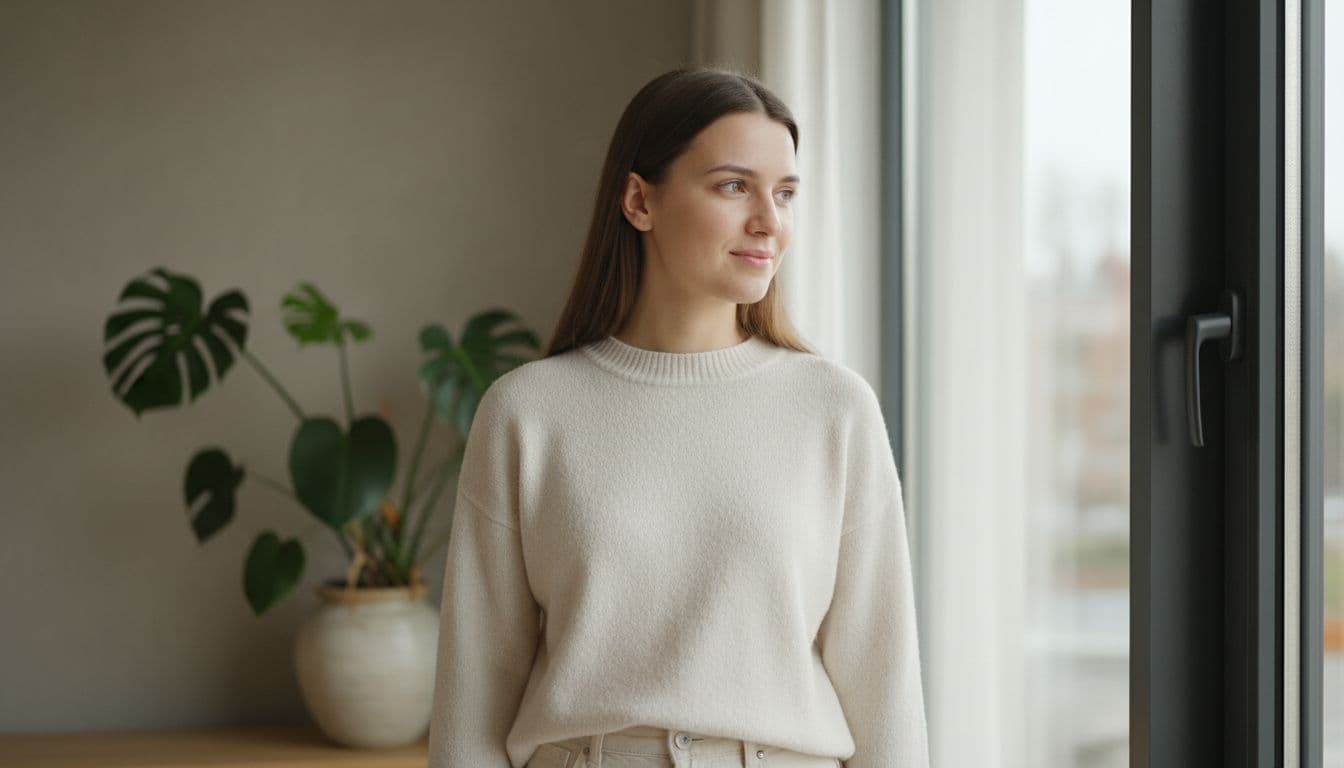
Good headshot lighting comes down to one simple rule: soft, even light on your face beats anything a fancy camera or a filter can add later. These headshot lighting tips cover the three light sources most people actually have on hand, a window, a flash, and a ring light, plus the mistakes that turn a decent selfie into a photo nobody wants to use.
SelfAI is an AI photo studio and AI photo editor that turns your selfies into professional headshots, portraits and creative photos in minutes, on iOS and in your web browser. It is also a useful backup plan for the days your lighting is only average.
- Soft, even light wins: a window facing your face does more for a headshot than a bright overhead bulb ever will.
- Direct, on-camera flash usually looks harsh on a face; bounce it or diffuse it if you have no other choice.
- A ring light is great for video calls but can flatten your face and leave a visible ring reflected in your eyes.
- The most common lighting mistakes are backlighting, overhead-only light, and mixing daylight with indoor bulbs.
- If the lighting is only average, an AI photo editor like SelfAI can still rebuild it into a polished, professional headshot.
Headshot Lighting Tips: What Actually Makes a Photo Look Professional
When people say a headshot "looks professional," they are usually describing the lighting, not the camera. Professional photographers build light around the face on purpose, using a main light, a softer fill light and sometimes a light behind the subject to separate them from the background. This setup even has a name: three-point lighting.
You do not need three lights or a studio to borrow the idea. What matters is that the light on your face is soft, comes mostly from the front, and does not compete with a second, differently colored light source. Get that right with a single window and the rest of the photo starts to look professional on its own.
I tested this with a friend who was updating her LinkedIn photo. We took two selfies thirty seconds apart in her kitchen: one facing the window, one with her back to it. Same phone, same outfit, same expression. The one facing the window looked like it came from a studio. The other looked like a passport photo taken in a hurry.
Window light vs. flash vs. ring light: which is best for a headshot?
Each of these light sources behaves differently on a face, and none of them is wrong, they are just suited to different situations.
Window light is the easiest way to get soft, flattering light without buying anything. Daylight coming through a window is naturally diffused, especially on an overcast day or through a sheer curtain, so it wraps around your face instead of creating hard edges.
On-camera flash is small and close to the lens, which is exactly why it looks harsh. It lights the face flat and head-on, throws a hard shadow behind you, and tends to make skin look shiny. Off-camera or bounced flash avoids most of this, but that is more setup than most people want for a quick photo.
Ring lights sit between the two. They give even, shadow-free light that is genuinely good for video calls, where a flat, bright face reads well on a small screen. In a still headshot, though, that same flatness can make a face look less three-dimensional, and the ring itself often shows up as a small circle in each eye.
If you only remember one thing from this comparison: window light is the best starting point for most people, flash is a backup for dark rooms, and a ring light is best treated as a video tool that also happens to work for photos.
How to use natural window light for a headshot
Find a window with soft, indirect daylight, north-facing light or an overcast sky both work well, and stand or sit facing it. Avoid direct midday sun through the glass; it is bright but harsh and creates hard shadows under your eyes and nose.
The time of day matters too. Light in the couple of hours after sunrise or before sunset is naturally softer and warmer, the effect photographers call golden hour. You do not need to plan your headshot around it, but if you have the choice, avoid the harsh middle of the day.
When flash works (and how to stop it looking harsh)
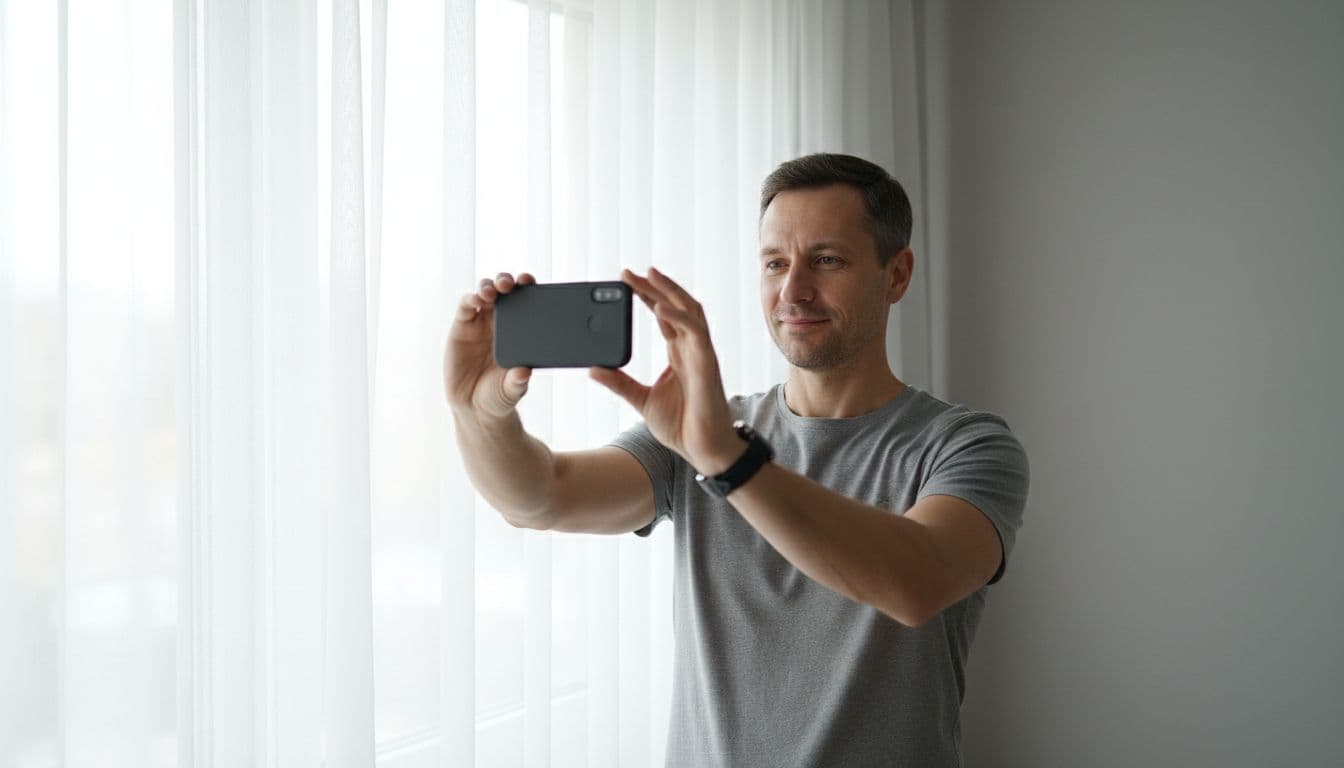
Flash is not the enemy, it is just easy to use badly. If a room is genuinely too dark for a usable photo, some light is better than none, but a few adjustments make a real difference.
Turn away from a straight, head-on flash whenever you can. Bounce it off a light-colored ceiling or wall so it reaches your face indirectly, or hold a phone flashlight off to one side instead of pointing it straight at you. Either option softens the shadows and keeps skin from looking shiny or overexposed.
Ring lights: good for video calls, tricky for headshots
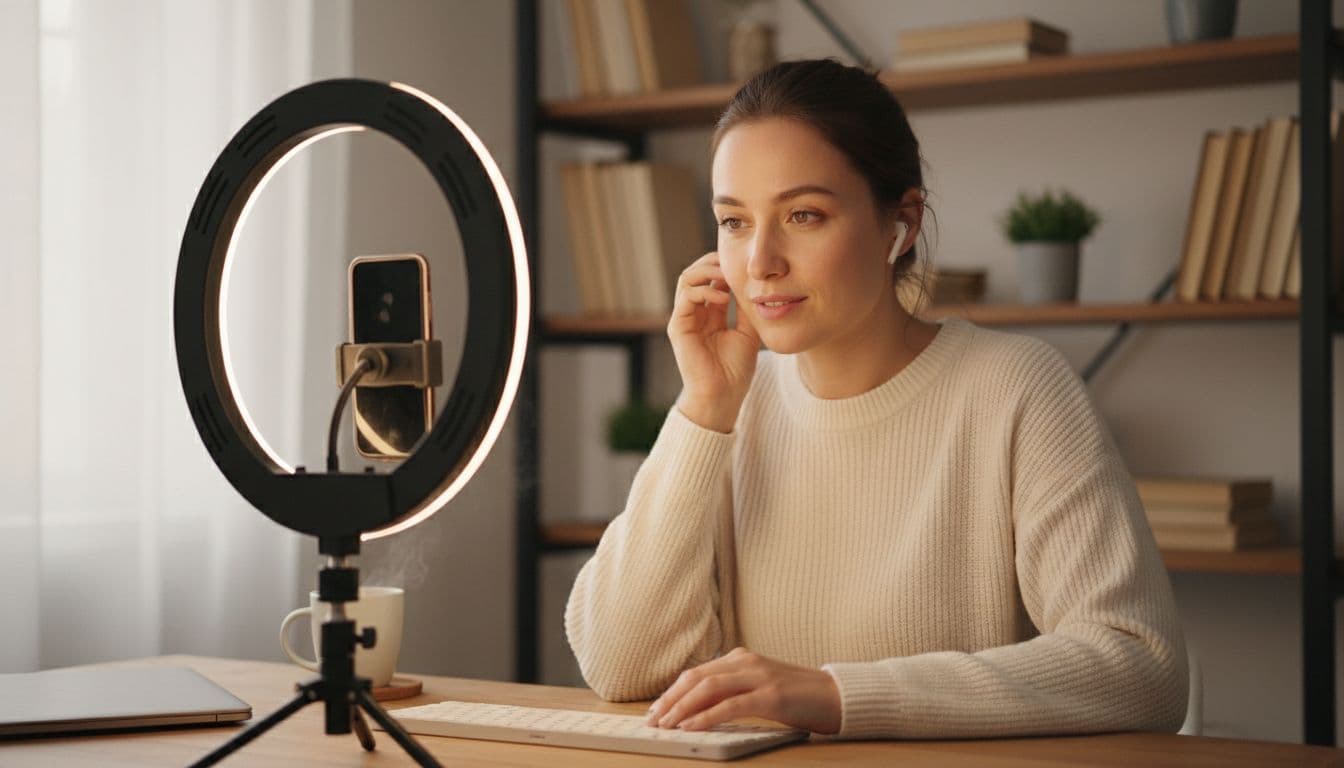
A ring light is worth owning if you spend a lot of time on video calls, it is affordable, portable and reliably even. For a single headshot, it is a fine option if a window is not available, but it is worth knowing its two quirks.
First, that flat, all-around light can make a face look less sculpted than side-lit daylight does. Second, the ring itself reflects in your eyes as a small circle, which some people like and others find distracting. If you notice it and do not like it, angle the light slightly off to one side rather than dead center.
Common headshot lighting mistakes to avoid
Most bad headshot lighting comes down to a handful of repeat offenders. Watch for these before you take the photo, not after.
- Backlighting. A bright window or lamp behind you forces the camera to expose for the background, leaving your face dark and underexposed. Face the light instead of standing in front of it.
- Overhead-only light. A single ceiling bulb or fluorescent panel straight above you casts shadows into your eye sockets and under your nose. Add light from the front, or move closer to a window.
- Mixed color temperature. Warm indoor bulbs and cool daylight in the same shot create an odd color cast that is hard to fix later. Pick one light source and turn the others off.
- Standing too far from the light. Light gets harsher and dimmer the further you move from a window or lamp. Move closer than feels natural; you can always crop in afterward.
- Squinting into direct sun. Bright, direct sunlight looks strong on a screen but reads as a squint and hard shadows in the photo. Turn slightly so the light hits your face at an angle instead of head-on.
How AI photo editing can rescue so-so lighting
Sometimes you already have the photo and there is no re-shoot in your future, the light was uneven, a little too warm, or a little too flat. This is where an AI photo editor earns its place next to good lighting habits instead of replacing them.
Upload a selfie to SelfAI and it keeps your face, skin tone and expression while rebuilding the lighting, background and wardrobe around you in the style you choose, corporate headshot, natural light, studio and more, in about two minutes. A photo that started out a little dim or uneven in color often comes out looking like it was lit by a professional. You can see examples across every style in the photo styles gallery, and the newest comparison of tools built for this is in our best AI headshot generator app guide.
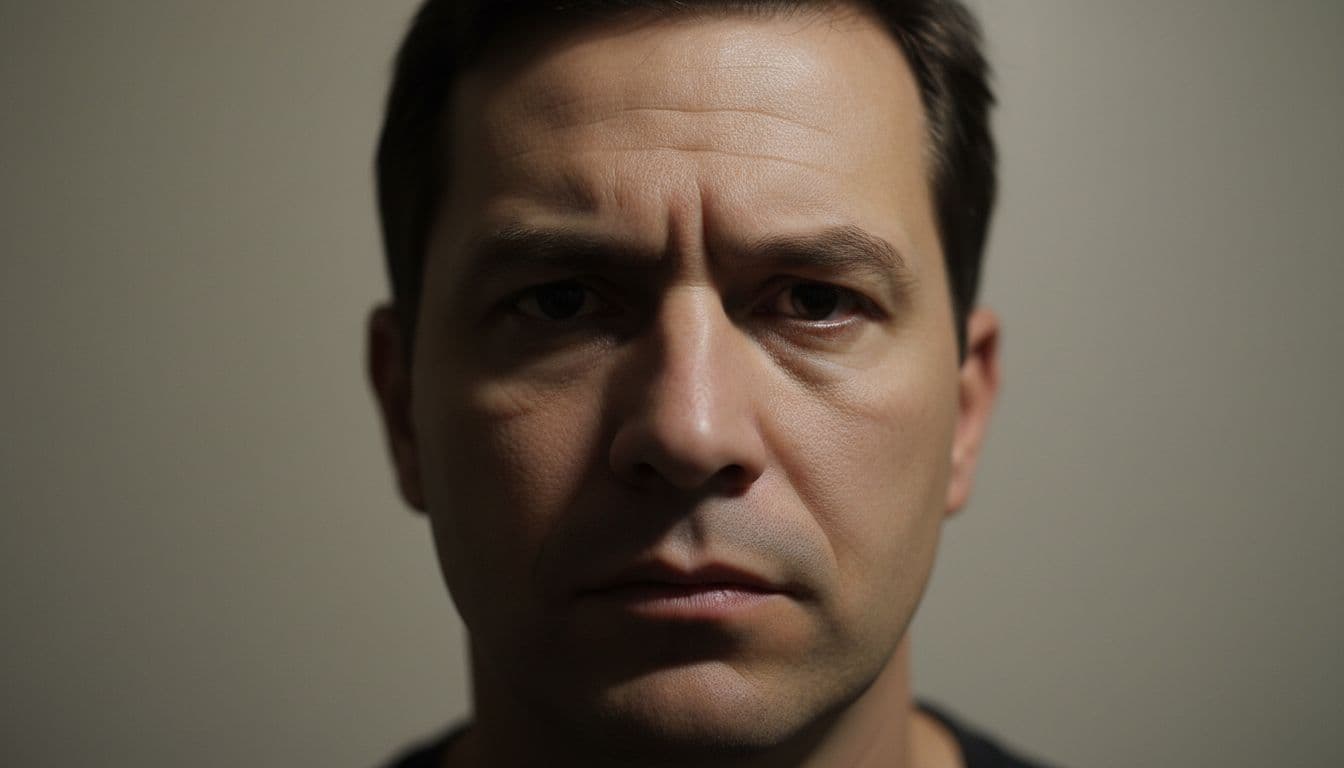
It has a limit worth being honest about: AI photo editing can fix uneven, dim or slightly harsh light, but it cannot invent detail your camera never captured. A silhouette with no visible features, or a face lost entirely in shadow, is still too little for any editor to rebuild. Start with a photo where your face is at least visible, even imperfectly lit, and the AI has something real to work with.
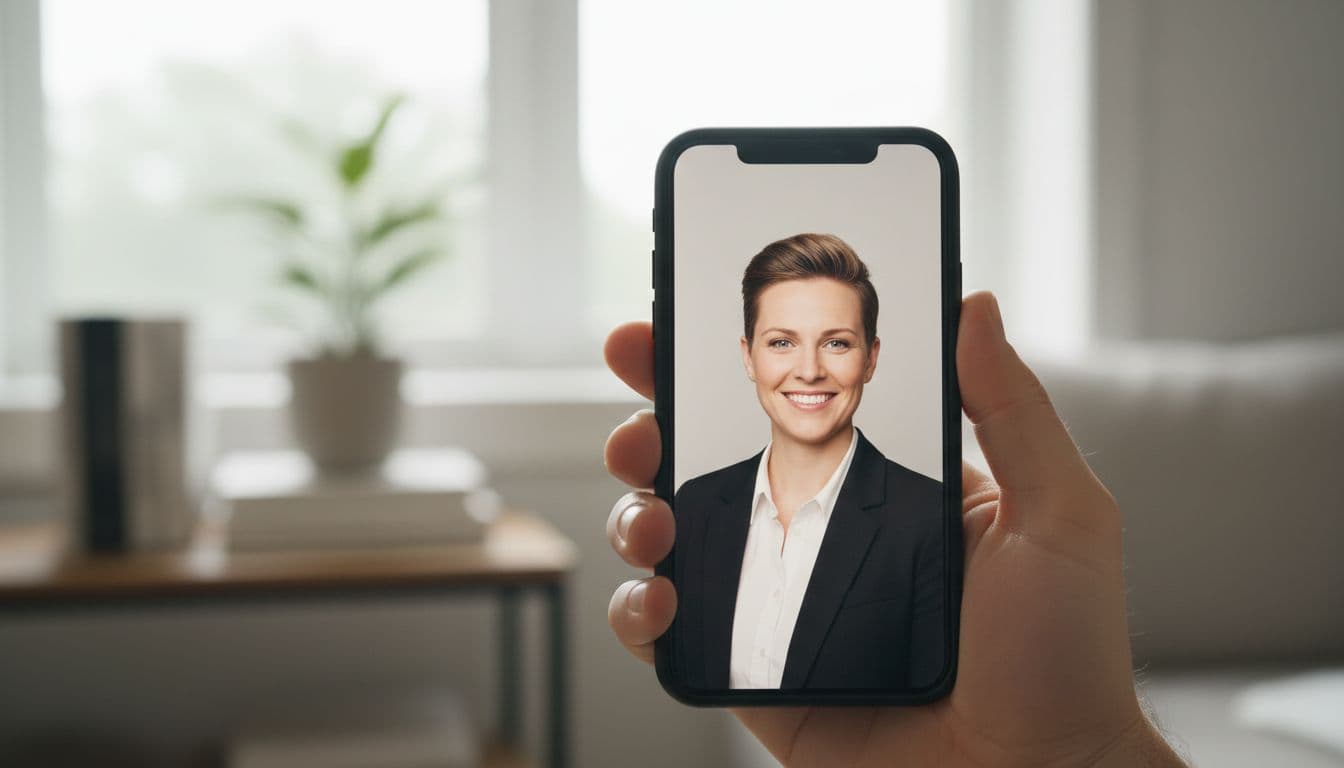
A simple lighting checklist before you shoot
Run through this quickly before every headshot, it takes less time than finding a good filter.
- Find your light first. A window with soft daylight beats any other option most people have at home.
- Face it, do not back into it. The light source should be in front of you, not behind you.
- Turn off competing lights. Switch off indoor bulbs that clash with the daylight, or vice versa.
- Check the shadows. Look under your eyes and chin. Soft, faint shadows are good; hard, dark ones mean you need to move closer to the light or turn slightly.
- Keep the background simple. A plain wall keeps attention on your face and makes lighting problems easier to spot. Our best background for a headshot guide covers this in more detail.
- Take a few extra frames. Light shifts as clouds move or you shift position. Two or three shots cost nothing and give you options.
Frequently asked questions
- What is the best lighting for a headshot?
- Soft, even light from the front, like daylight through a window with a sheer curtain, is the best headshot lighting for most people. It should light your face evenly with only a faint shadow, not harsh light from directly above or behind you.
- Should I use natural light or a ring light for a headshot?
- Natural window light usually looks more professional because it wraps around your face instead of flattening it. A ring light is convenient and works well for video calls, but it can leave a visible ring reflection in your eyes and a flatter look in a still photo.
- Why do flash headshots often look harsh?
- A small on-camera flash points straight at your face, which creates hard shadows, shiny skin and an underexposed background. Bouncing the flash off a wall or ceiling, or diffusing it, softens the light and looks far more natural.
- Can bad lighting in a photo be fixed afterward?
- Basic exposure and color can be adjusted in most photo apps, but an AI photo editor like SelfAI goes further and rebuilds the lighting, background and wardrobe around your face while keeping you recognizable.
- Do I need professional lighting equipment for a good headshot?
- No. A bright window and a plain wall are enough for most people. A ring light or a small reflector helps in a dim room, but neither is required for a usable, professional-looking result.
- How do I know if my headshot lighting is good enough?
- Check the shadows under your eyes, nose and chin. Soft, faint shadows mean the lighting is working. Hard, dark shadows or an odd color cast usually mean the light needs to move, soften, or come from a single source.
Better light, better headshot
None of these headshot lighting tips require new equipment. A window, a bit of attention to where the light is coming from, and a plain wall behind you will beat most flash photos and most ring lights, and cost nothing. Pair good light with what you wear, covered in our what to wear for a headshot guide, and you have most of what a photographer would charge for.
And on the days the light does not cooperate, that is what SelfAI is for. Upload the selfie you already have, pick a style, and let the AI rebuild the lighting around the face you already like.
Written by
Taro Nakamura
Editor, AI Photography & Mobile Apps
Taro writes about AI photo editing, headshots and the apps that make them easy. He tests every editor he recommends on a real phone, with real selfies, and only keeps the tools that deliver results in minutes without a manual.
More articles by Taro




 Taro Nakamura